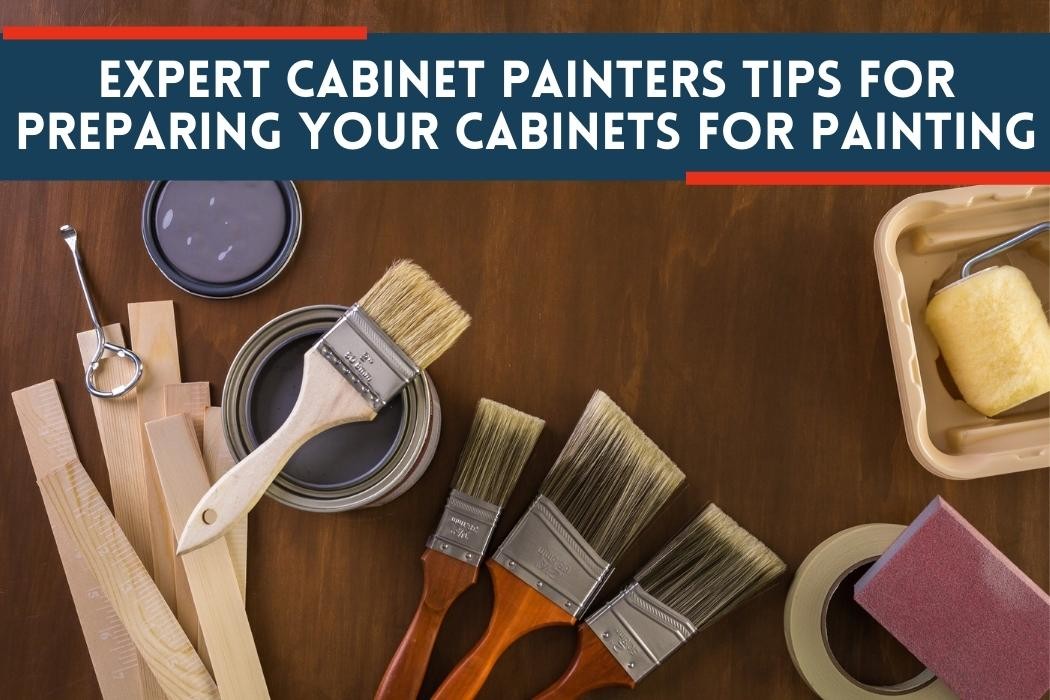
Expert Cabinet Painters Tips for Preparing Your Cabinets for Painting
Expert Cabinet Painters Tips for Preparing Your Cabinets for Painting
Have you been wanting to give your cabinets a makeover but don't know where to start? With the help of expert cabinet painters, transforming those dull and outdated kitchen or bathroom cupboards can be easy! Keep reading for tips on how to properly prepare your cabinets for painting.
Preparing your cabinets is the key step in achieving beautiful results when it comes time for painting. Everything from sanding, cleaning, and priming must be done with detail and precision if you want lasting results. The good news is that there are tricks of the trade that professional kitchen cabinet painters use - and now you too can take advantage of them!
Get ready to learn all about what steps need to be taken before starting on painting projects. Professional cabinet painters have years of experience under their belts, so they know exactly what needs to be done (and not done) to get stunning results. You'll soon see just how simple it can be - let's dive into these expert tips!
Cleaning And Repairing The Cabinets
Ahh, the kitchen. The setting of many a delicious meal and conversation with family or friends. But what if your beloved kitchen cabinets are looking a little worse for wear? Don't panic! With some elbow grease, wood filler, and sanding process you can have those cabinets looking brand new in no time.
The first step is to give them a good cleaning. Remove any dirt and grime that has accumulated over the years by using a mild detergent mixed with warm water and a soft cloth. If there are more stubborn stains, use steel wool on them instead of scrubbing them too hard. Once they're clean let them dry completely before moving on to repairs.
Once everything's dried up it's time to assess any potential damage your cabinets may have incurred over the years - think scratches, dents, chips, etc. For minor damages like these fillers made specifically for furniture come in handy. Simply follow the instructions on the packaging to apply the filler correctly onto your damaged cabinet surface and smooth out afterward with fine-grade sandpaper until everything looks even again. Now that all repairs have been done you can move on to preparing your cabinets for painting with our next step: masking off surrounding areas!
Masking Off Surrounding Areas
Professional cabinet painting requires careful attention to detail, and masking off surrounding areas is an essential part of the cabinet painting process. Before starting any kitchen cabinet painting project, make sure to cover nearby surfaces with painter's tape and plastic tarps. This will prevent any drips or splatters from damaging your walls, floors, or countertops during the painting process. With the proper masking, you can focus on the task at hand and achieve a flawless finish that will make your kitchen cabinets look brand new.
Once all nearby areas have been properly masked off with painter's tape and plastic tarps it's time to move on priming the cabinets themselves before applying that beautiful new coat of paint. Primer seals wood grain against stains so that the color looks even once painted over while also helping create a better bond between the surface material and upcoming layers of paint.
Applying Primer
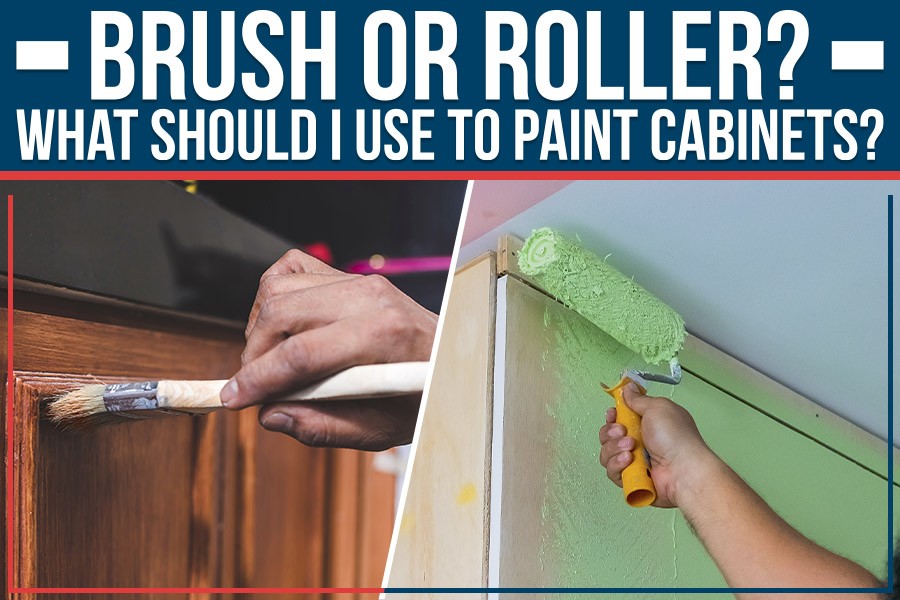
Now that the surrounding areas are protected and ready, you can start to focus on priming your cabinets. Primer is essential when it comes to preparing for a new paint job - it helps create an even surface and provides better adhesion between the wood grain and layers of paint. It also prevents staining from occurring after the painting has been completed. To apply primer, use a brush or roller in small sections at a time, using long strokes and being sure to cover all surfaces evenly. Allow each layer to dry before adding more until you have achieved the desired coverage.
Once primed, take some sandpaper (or an electric sander) and lightly run over the entire cabinet surface. This will help promote better adhesion while giving you a smooth finish with minimal visible grain lines once painted. Be sure not to press too hard as this could damage the surface material itself! After everything has been properly prepped, you're now ready to select which type of paint best suits your needs.
Selecting Paint Type
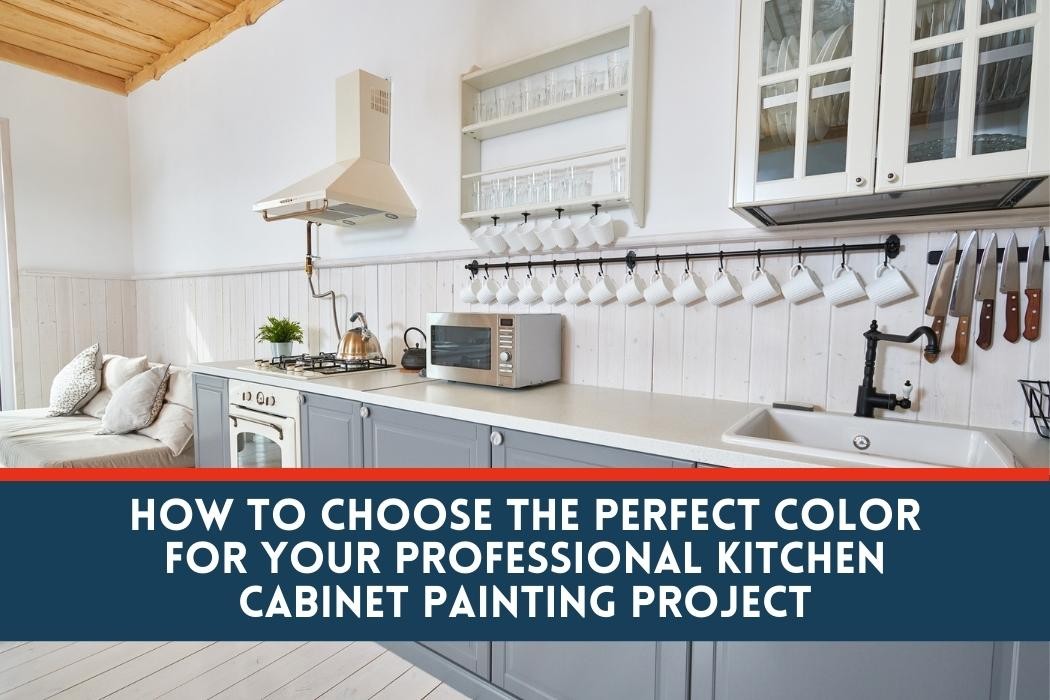
Choosing the appropriate paint for your project is crucial to attaining a polished finish. If you're looking for a long-lasting type of paint, oil-based paint has been traditionally used, but it necessitates more preparation time and cleanup, and it can be hazardous to work with. On the contrary, water-based paint is much more convenient to use and has a lesser odor while still offering outstanding coverage. With water-based paint, you can have your kitchen cabinets painted in no time as they dry faster than oil-based paints, making them perfect for those who want rapid results without compromising quality.
When deciding which type of paint to use you should consider not only the properties of each option but also your skill level and budget. If you’re experienced enough then an oil-based paint may be best suited for you due to its longevity and robustness; however, if this is your first time attempting such a project then it would probably be wiser to go with a water-based option instead. It’s important to make sure that whichever choice you make will protect against any external elements – like moisture or extreme temperatures - that could damage the surface over time.
No matter what kind of paint you choose, it’s always wise to invest in high-quality products so that you get maximum durability out of your efforts. Taking these precautions beforehand will ensure that once applied, your cabinets will last longer before needing another revamp! With all these factors taken into account, it's now time to start applying the paint itself...
Applying The Paint
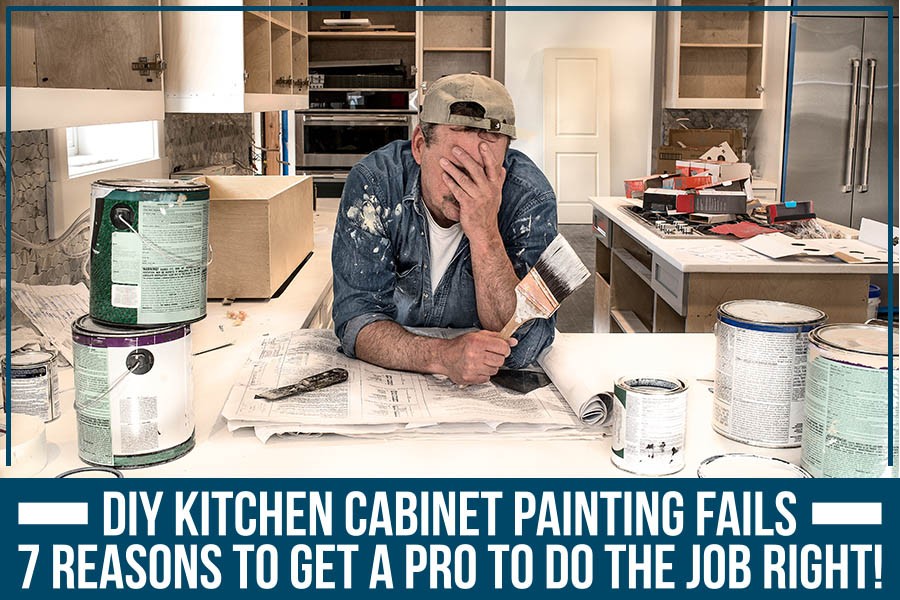
If you're looking for a cost-effective way to enhance the appearance of your kitchen, then cabinet painting could be the perfect solution for you. Before you start spray painting or cabinet painting in Plano Texas, you should prioritize preparation. Thoroughly cleaning and sanding the cabinet surface can ensure that the paint adheres well and stays in great condition for an extended period. Applying the paint with patience and care is crucial. Be sure to apply thin coats with long, even strokes to achieve a smooth and professional finish. To guarantee full coverage, follow the manufacturer's instructions regarding drying time and the number of coats needed. With attention to detail and a little bit of patience, cabinet painting can be a fun and fulfilling DIY project.
To achieve a smooth finish when
you refinish cabinets
or engage in cabinet repainting using oil-based paints, it's best to use thinner brushes that allow you to have more
control over short strokes. Additionally, keep in mind that oil-based paints take longer to cure, up to 24 hours or
more, while water-based paints can dry in minutes. Allow enough time between each coat to avoid rushing the process.
Once you're confident that you've finished painting, step back and appreciate your work! Your cabinets should now have a
fresh and bright appearance. Finally, add some finishing touches to perfect the look.
Adding Finishing Touches
Now that you’ve completed your painting project, it's time to add the professional painter's finishing touches. While there are a variety of options available for adding those extra special details to your cabinets, here is a four-point guide to help you achieve the best results:
1) Use high-quality sealants and varnishes – A good coat of gloss or matte finish will protect your newly painted surface from wear and tear, while also giving it an attractive sheen. When selecting sealant products make sure they're compatible with the paint type you used as this will ensure a durable finish.
2) Buffing and polishing – Once all coats have dried use some fine grit sandpaper to remove any lumps or bumps, then apply beeswax or furniture wax to give them a smooth, glossy look. For an even smoother finish try using steel wool which can help buff out imperfections in no time flat.
3) Edges and corners – To prevent chipping around edges and corners use masking tape when applying each layer of paint; this way you won't need to worry about overpainting areas where two surfaces meet. If done correctly this should create crisp lines which will complement most cabinet designs nicely.
4) Professional touch-up – Hire a professional painter for small jobs like touching up chips or scratches on existing surfaces - these often require more precision than regular brushwork since they're so visible and prone to show errors easily. Doing this ensures only the smoothest finish possible without much effort on your part!
So there you have it! With just a few simple steps you'll be able to take your freshly painted cabinets from drab to fab in no time at all. So what are you waiting for? Get out there and start sprucing up those cupboards today!
Final Thoughts
Painting cabinets can be a daunting task, but with the right preparation and materials, it doesn’t have to be. Taking the time to do each step correctly will ensure your cabinets look like they were done by an expert. Cleaning and repairing any existing damage before you start is essential for ensuring the best result. Primer will help create a smooth base layer that the paint color can adhere to, making sure your cabinets last longer than if you skipped this step. Finally selecting the appropriate type of paint for your project and applying it in thin even coats will give you beautiful results every time. Painting cabinets is like giving a new fresh coat of paint to your home, transforming it from dull and drab into something special. With these tips, anyone can become an expert cabinet painter in no time!
When embarking on a painting project, a critical decision you must make is choosing the right type of paint to ensure a high-quality and polished finish. While oil-based paints have long been the trusted choice for their exceptional durability, it is essential to be aware of the extra preparation time, messier clean-up, and potential hazards associated with them. On the other side of the spectrum, water-based paints offer a more user-friendly alternative without compromising on quality. Not only are they notably easier to work with and emit fewer odors, but they also boast a rapid drying time, perfect for those eager to complete their projects swiftly. So, as you prepare to dive into your next creative endeavor, carefully weigh the pros and cons of oil and water-based paints to determine which one will best suit your needs while delivering a professional result.