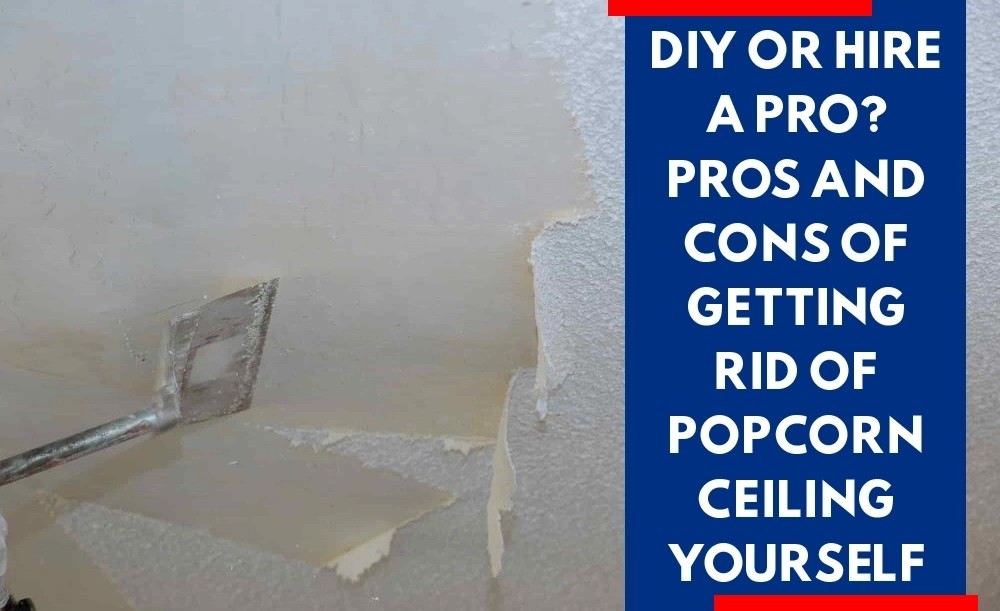
DIY or Hire a Pro? Pros and Cons of Getting Rid of Popcorn Ceiling Yourself
Upgrade Your Home: Popcorn Ceiling Removal and Replacement Ideas

Table of Contents
Are you tired of looking at the same old popcorn ceilings in your home? Are you ready to upgrade your living space and make it look more modern? Popcorn ceiling removal is a great way to instantly improve the appearance of any room, no matter how large or small. And with all the replacement ideas available today, you can create a one-of-a-kind design that's sure to impress. In this article, we'll discuss some exciting options for popcorn ceiling removal and replacement so you can get started on transforming your home now!
The first step when considering popcorn ceiling removal is safety. Not only does removing an existing texture involve working with hazardous materials like asbestos fibers, but also involves using power tools and ladders - both of which can be dangerous if not used properly. For these reasons, it may be best to hire a professional contractor who has experience working with these types of projects. Once the job is done safely and correctly, then you can move on to exploring different ways to replace those outdated textures.
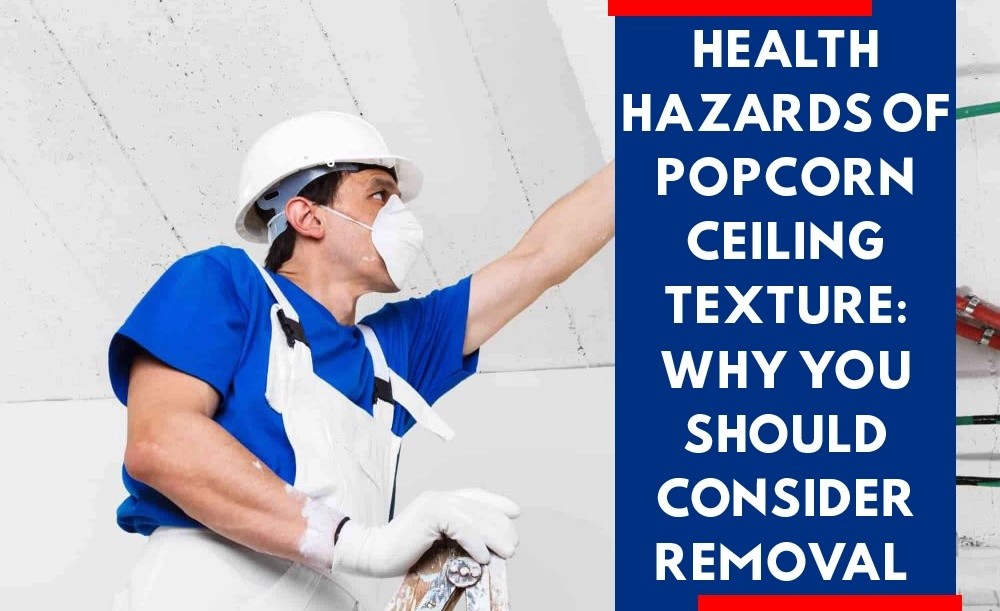
When it comes to popcorn ceilings, many people assume they're just a dated decorating style that no longer has any purpose. However, when you take the time to learn more about them, you'll discover there are serious health risks associated with their presence in your home.
The primary danger of popcorn ceilings is the possibility of asbestos contamination. While most acoustical ceilings installed between 1950 and 1978 contain some form of asbestos fibers, the only way to know for sure if this type of material is present is by having an asbestos professional test the area. If I'm found in your ceiling, then removal becomes an absolute necessity due to its potential health risk.
If you're planning to remove popcorn ceilings on your own, it's important to prioritize safety measures. Before starting the project, conduct a thorough inspection to identify any potential hazards such as mold growth or loose pieces that may fall and cause injury. Be sure to wear protective gear such as goggles, gloves, and a mask to avoid inhaling any dust particles or debris. If you're unsure about how to safely remove the popcorn texture or encounter any issues during the process, don't hesitate to seek advice or assistance from a professional. Taking these precautions will help ensure a safe and successful removal of your popcorn ceiling.
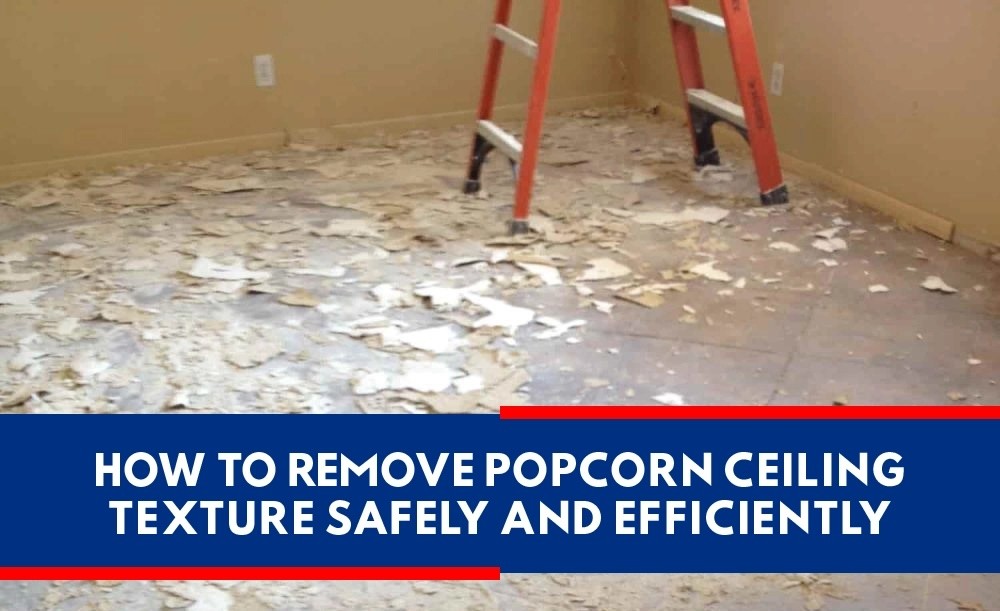
When it comes to removing a popcorn ceiling, it's important to take all the necessary precautions. Not only is it a difficult task, but it can also be hazardous to your health if proper safety measures are not taken. The process involves scraping off the entire ceiling, which can create a lot of dust and debris. That's why it's important to wear protective gear such as gloves, goggles, and a dust mask to avoid inhaling any harmful particles. With the right tools and some patience, you can successfully remove the wet popcorn ceiling and create a smoother, more modern look for your home in Plano. Here’s a basic overview of what you need to do:
1 Cover up any furniture in the room and use plastic sheeting to create a barrier around the perimeter for easier cleanup later on.
2 Take your drywall knife or another scraping tool and carefully begin chipping away at the surface until there's nothing left but bare drywall underneath. Be careful not to press too hard as this could cause damage to other parts of your wall or ceiling.
3 Vacuum up any loose pieces that may have fallen on the floor or onto nearby surfaces before proceeding with sanding down the area for smoothness. Make sure you wear protective equipment when doing so! Once all these steps are complete, you'll be ready to select replacement materials suitable for covering up your new clean slate of a ceiling.
It's important to note that before adding any new textures or paints to your ceiling, you should check for hazardous materials such as asbestos or lead paint. Depending on your settings, these materials may be present in older homes in Plano and could pose a health risk. If you suspect that your ceiling may contain asbestos or lead paint, it's best to contact a professional for testing and removal before proceeding with any further renovations. Once you've ensured that your ceiling is safe, you can start to think about adding your desired textures and colors to bring your room to life.
On the other hand, if you're looking for dramatic effects without too much hassle, wallpaper can be a great option. There is a wide selection of patterns and textures suited to any space; from geometric shapes and floral prints to faux wood paneling or tile designs. Plus, many modern wallpapers come with adhesive backing which makes them very easy to install over drywall surfaces.
Removing popcorn ceilings can be a messy and time-consuming process, but replacing it with a stunning wood or tile ceiling can be well worth the effort. Before you start, make sure to remove the popcorn ceiling texture completely and prep the surface for the new installation. Once the surface is prepped, you can install wood planks or tiles using a variety of methods depending on your personal preferences and the materials you choose. For wood planks, you can use adhesive or nails to secure them in place, while tiles typically require a special adhesive or grout for installation. The result is a beautiful and unique ceiling that can transform any room in your home.
If you're looking to switch out old popcorn ceiling textures for something new, wet scrape the surface and cover it with drop cloths to keep the area clean when completing your home improvement projects in Plano. Afterward, primed surfaces can be finished with either paint, textiles, or drywall products depending on whether you’re aiming for a classic look or something more contemporary. With patience and attention to detail – not to mention plenty of practice – achieving a finished product that reflects your tastes is possible!
If you’re looking for a more modern upgrade to your existing Another option to consider a more modern upgrade to your textured ceiling is installing a smooth finish. Smooth ceilings offer a sleek and sophisticated look that can make your room appear larger and more modern. This type of ceiling is achieved by applying a skim coat of joint compound over the existing popcorn texture, sanding it down, and then painting over it. While this process can be time-consuming and messy, the result is a beautiful and seamless finish that can dramatically transform the look of your room. If you're up for the challenge, removing your textured ceiling and going for a smooth finish may be the perfect way to modernize your space! Here are some tips on how to get started:
• Preparing the Space: Before beginning installation, double-check measurements and ensure enough clearance between flooring and ceiling joists exists for drop ceilings or tile installations. Be sure all walls are even before starting - this will help avoid any unnecessary adjustments later down the road!
• Installing Drop Ceilings: When laying out the grid pattern, start at one corner and work your way across the room until complete. It's important to follow manufacturer instructions closely here as improper installation could lead to sagging or uneven panels over time. Carefully lower each panel into place using special tools designed specifically for this purpose then press firmly against surrounding edges until secure.
• Attaching Tiles: Once prepared according to specifications, attach each tile by pressing firmly onto clips located inside the framework. Special attention should be given when placing corners as they may need additional support from adhesives during the installation process.
If you’re looking for a more decorative ceiling solution, plastering and stucco are great alternatives to suspended ceilings or beadboard. Plaster is easy to apply and can be used on walls as well as ceilings to create an elegant finish that won’t break the bank. Stucco is a bit tougher to work with but requires less maintenance over time and offers plenty of customization options when it comes to color, texture, and design. Here are some tips on how to get started:
1) Select Material: When choosing between plaster or stucco, consider factors such as cost, installation difficulty level, desired look/finish, and ease of maintenance. It may also help to speak with a professional contractor who can provide advice based on your specific needs.
2) Prepare Surface: Both materials need a clean surface free from dirt, dust, or other debris to adhere properly – so use sandpaper or steel wool if necessary before beginning the application process. Additionally, ensure any cracks have been filled before applying either material.
3) Install Ceiling Solutions: If using plaster, mix the product according to manufacturer instructions then spread evenly across the entire surface with a trowel; once dry add additional coats until desired thickness is achieved. With stucco begin by installing metal lath onto joists then follow up with three layers of cement mixture - each layer should be wetter than the previous one creating a smooth transition between them all! Finally, let everything settle overnight before adding final touches like colors/textures, etc.
4) Add Decorative Options: After the installation process is complete don’t forget about decorating potential – paint ceilings or add stencils for unique designs; hang pendant lights from the center of the room for added drama or place wall sconces around the perimeter for softer glow at night! Whatever you choose make sure it matches the overall aesthetic already established within the home interior space.
With these two creative ceiling solutions, there's no limit to what kind of style statement you can make! Whether opting for classic charm via plaster or modern edge through stucco – the sky is the limit when it comes to updating interiors without breaking budget constraints set forth beforehand!
Author

Mason Marquis, raised in Newport Beach, California, and Austin, Texas, amalgamated his experiences from both vibrant cities in his journey. His academic pursuit in Economics and Psychology at the University of North Texas (UNT) led to the founding of Spray Tex Painting. This venture was not just a business for Mason but a practical application of his academic learnings, particularly the integration of economic concepts and psychological understanding. Spray Tex Painting, under Mason's direction, transcends being merely a painting service; it's a platform where client visions are realized through dedication and creativity.
Related Articles
DIY or Hire a Pro? Pros and Cons of Getting Rid of Popcorn Ceiling Yourself
Evolution of Popcorn Texture on Ceilings: A Brief History and Future Trends
Health Hazards of Popcorn Ceiling Texture: Why You Should Consider Removal
How to Remove Popcorn Ceiling Texture Safely and Efficiently