DIY House Faux Texture Painting: Simple Techniques for Stunning Results
DIY House Faux Texture Painting: Simple Techniques for Stunning Results
Do you want to transform your home from dull and lifeless to a work of art? With DIY house faux texture painting, it’s easy to create stunning results. Whether you’re looking for an eye-catching feature wall or want to breathe new life into tired furniture, this article will show you how simple techniques can be used to achieve amazing effects. Get ready to discover the power of paint!
With painting becoming an increasingly popular way to add depth and dimension to walls, faux finishes have become a
go-to for many homeowners looking for creative and unique design ideas. From sponging and stippling to ragging and more,
there are a variety of faux textures that can be achieved with just some basic supplies. To ensure that your results are
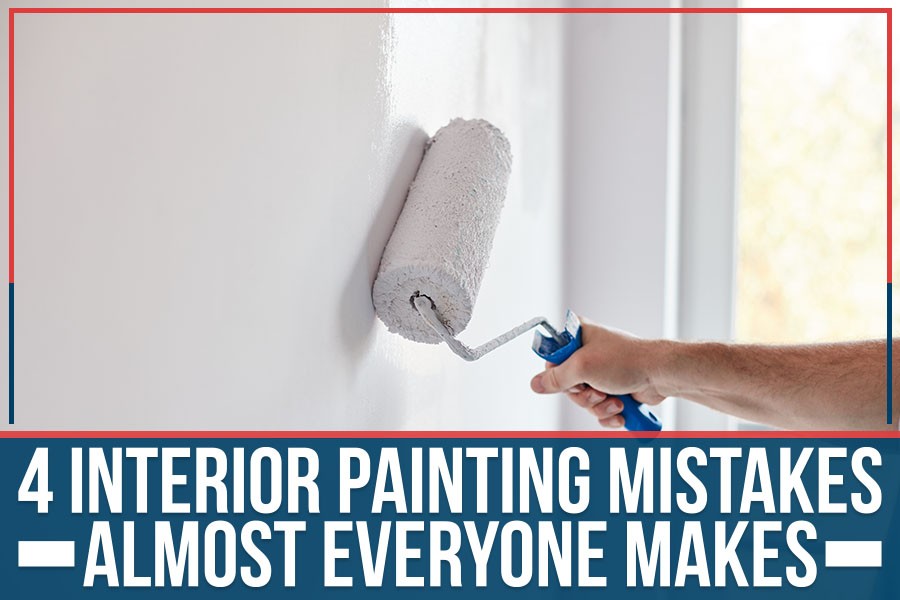
up to professional standards, however, it is best to call in a *
*professional texture painting contractor
**. With their expertise and experience, they will help you create stunning effects that bring new life to your space -
without breaking the bank!
Whether tackling your first project or adding finishing touches to existing décor, this comprehensive guide shows exactly what is needed to get started, plus useful tips on achieving professional-looking results every time. So let’s dive right in and explore the world of DIY house faux texture painting!
What Is Faux Texture Painting?
Give your walls a unique and beautiful look with faux texture painting techniques! Start by removing any existing wallpaper and preparing the surface for painting. Utilize wood-graining tools and basic faux painting techniques such as rollers, brushes, synthetic sponges, and more to create patterns that resemble other natural materials and textures. Best of all, you don't have to invest in expensive equipment to achieve amazing results - simply use the right tools and paints that are designed specifically for use on certain types of wallcoverings. With these tips in mind, you'll be able to add instant luxury to any room with ease!
Types Of Faux Paint Techniques
Add depth and interest to your wall decor with a decorative faux painting technique! Rag rolling entails taking strips of cloth or paper towels, then applying them in a rolling pattern onto wet paint for a fabric-like texture. For a marbled effect, try the sponging technique - this involves using cards cut from synthetic sponges to create random patterns on the paint surface. Other basic faux finishing techniques such as stippling, stenciling, and crackling can be used with various colors of paint to craft unique finishes. Choose the right paints and follow instructions closely to ensure that you achieve amazing results with a fun decorative painting technique!
Ready to get creative with faux paint techniques? There are a variety of ways you can add depth and interest to your walls. From creating faux denim fabric finishes to mimic the look of granite, there's something for everyone! Let’s take a look at some popular options:
The first technique is called 'rag rolling'. This involves taking strips of cloth or paper towels and applying them in a rolling pattern onto the wet paint. The result looks like textured cloth on top of the wall surface. It's an easy way to give a room that rustic charm without too much effort!
Another option is known as 'sponging.' This entails using cards cut from synthetic sponges to create random patterns on wet paint, resulting in a mottled finish similar to marble or granite. With this method, you can recreate classic stone textures all over your home decor for an elegant touch.
Finally, if you're looking for something more unique, why not try out the faux denim finish? This utilizes a combination of blue and white paint along with sponging and rag-rolling techniques, giving any space an eye-catching country style. You'll be amazed at how realistic it looks!
Getting your hands on the right supplies and tools is essential for a successful faux texture painting project. You'll need some basic materials, such as latex paint, brushes or rollers, and sea sponges – all of which can be found at any hardware store. To make things easier, you may even want to invest in a few specialized tools like an airbrush gun or stencils. With these items in hand, you’ll have everything you need to get started! Here are three key elements that will help create perfect results:
1 Quality paints - Use high-quality paints for better coverage and color retention.
2 A variety of brushes - Invest in different sizes and shapes of brushes so you can achieve various effects depending on what look you're going for.
3 Variety of textures - Try using textured objects such as corkscrews or leaves to add extra dimensionality to your walls. Using these tips as a guide, you'll easily find the necessary materials for your DIY house faux texture painting project. Now it's time to move on to the next step – preparation and safety considerations!
Preparation And Safety Considerations
Before beginning your faux texture painting project, there are a few important safety and preparation considerations to bear in mind. Firstly, you must wear rubber gloves when working with paints or other potentially hazardous materials. Secondly, have some paper towels on hand for quick clean-ups should any paint splatter onto surfaces not intended for painting. Finally, make sure all surfaces are dry before starting by wiping them down with a cloth. With these key points taken care of, you're now ready to move on to the next step – creating the faux texture basecoat!
Creating The Faux Texture Basecoat
Transform your walls with stunning faux textures! Start by selecting the right paint roller and nap for the surface you are working on. This will ensure a smooth, even coat of latex-based base color to your entire wall area. Once you've chosen your roller, apply one coat of paint using a ‘W’ pattern, then allow it to dry completely. For added texture and interest, consider applying a mix of liquid acrylic glaze with other materials like pre-mixed products such as sprayable sand textures or traditional options like joint compound and spackle. You can even opt for Venetian plaster, which is ideal for creating intricate wood grain finishes or adding realistic dimension to interior design styles. With these faux texture painting techniques, you'll be able to elevate any room to the next level in no time!
When applying your texture mixture, use long strokes that extend beyond each sectional area being painted and blend them where they meet up with other sections. Be sure to cover all areas evenly and avoid overworking one spot until everything is finished drying (which usually takes no longer than 30 minutes). When complete, allow the texture medium to fully cure overnight before proceeding with the next part of the painting process – adding color!
Adding Color To The Faux Textures
Adding color to faux textures is an exciting and creative process that can bring your house painting project to life. To begin, mix a paint mixture in a container of your choosing using latex-based paints in coordinating hues. For best results, use two or more shades for greater depth and dimension throughout the finished product. Once you’ve achieved the desired hue, apply it with a roller across all textured surfaces within each sectional area being painted.
When adding color to any texture medium, be sure to utilize brush strokes as this will help create natural-looking shadows and highlights as well as add further texture when viewed from afar. Additionally, consider mixing some colored glaze into the paint mixture before applying it if you want to achieve bolder colors and sheen levels; however, take care not to overdo it – too much glaze can make the surface overly glossy and lead to cracking after drying.
The key here is experimentation! Try different techniques until you find something that suits your taste while also keeping in mind that subtlety often creates a bigger impact than a heavy application of multiple layers. With these tips in mind, you are now ready to move on to creating special effects with glaze.
Creating Special Effects With Glaze
Once you have achieved the desired color and texture of your faux painting project, it's time to take things to the next level. By adding a coat of glaze, you can create special effects that will add depth and interest to any wall or surface. To start, mix oil-based paint with glaze in a container until you get the desired consistency; this mixture should be thin enough so that it spreads easily but still coats the walls evenly. Once ready, apply a single coat across all textured surfaces with a roller – taking care not to over-apply as too much can lead to cracking after drying.
Applying glaze to a wall can be a great way to add some unique decorative elements. Depending on the look you're trying
to achieve, try varying brush strokes - whether it's dabbing for greater definition in some areas while lightly brushing
others, or mixing colored glazes into your mixture before application for bolder colors and sheen levels. With
these painting ideas
in hand, you're sure to create professional results with your project!
Adding Finishing Touches To Your Project
Now that the glaze is dried, it's time to move on to adding the finishing touches. A high-quality acrylic finish can be used to seal and protect your faux painting project while also giving a beautiful shine when dry. To apply, first use a brush or roller to spread an even layer of the finish overall textured surfaces; then let cure for at least 24 hours before lightly sanding with fine grit paper if desired. As you do this last step, pay special attention to any areas where the texture has been made more pronounced by using different layers of paint and glaze – these will require extra care to create a seamless final product!
Once finished sealing, you should have achieved stunning results from your faux finish painting project! Now, as always, proper maintenance is key to preserving its longevity - so make sure to take good care of your handiwork going forward.
Maintaining Your Finished Project
After all your hard work, it's time to start enjoying the fruits of your labor! Now that you've created a beautiful faux finish painting with simple techniques, it's important to keep up proper maintenance so that it can last for years.
A good place to begin is by using a damp cloth regularly - this will help remove any dust or dirt which accumulates over time and could damage the look of the project. Additionally, every few months you should reapply an acrylic sealant if needed - this will ensure that the paint remains vibrant and protected from potential harm. Lastly, after one year of use, consider adding an extra coat of polyurethane sealant as well; this further strengthens the longevity of your project and helps maintain its original beauty.
The key takeaway here? With just some basic care and upkeep, you'll be able to continue admiring your masterpiece for many more years down the line!