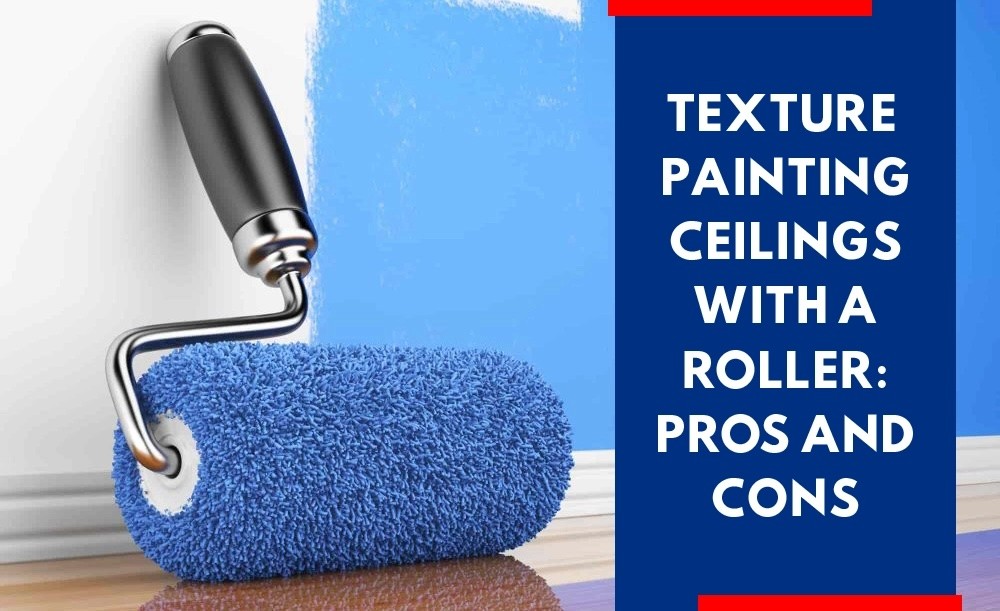
Texture Painting Ceilings With A Roller: Pros And Cons
Texture Painting Ceilings With A Roller: Pros And Cons
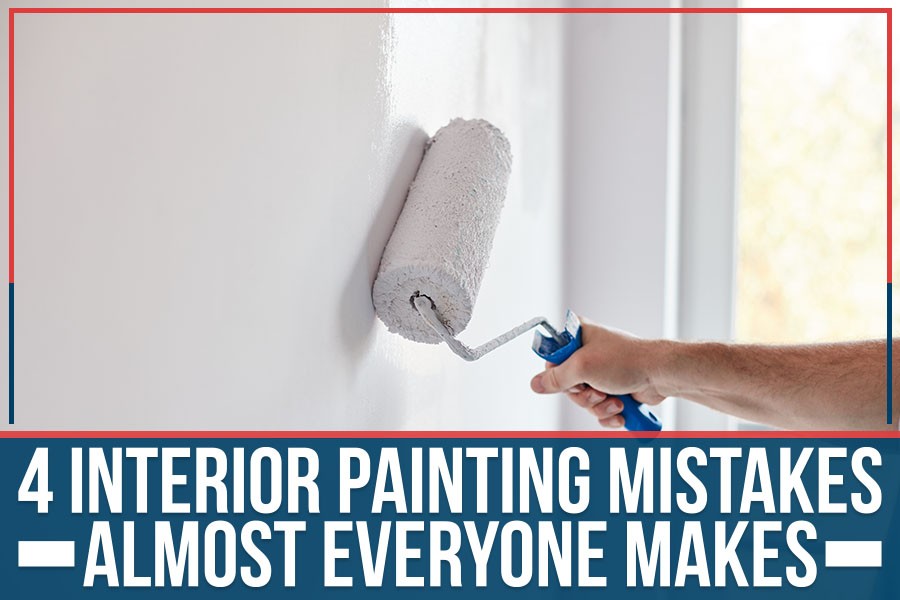
Painting a ceiling can be an intimidating task, but it doesn’t have to
be. Texture painting ceilings with a roller is one
way of tackling this project that may make the job easier and simpler. While there are many benefits to using a roller
for textured ceiling painting, there are also some potential drawbacks - which makes understanding both the pros and
cons essential before taking on this project. In this article, we will explore all aspects of texture painting ceilings
with a roller so that you can decide if this approach is right for your home improvement goals.
From selecting the right type of rollers to learning how to properly apply the paint, these details will help ensure your success in achieving beautiful results. We will even share advice from professional painters in Plano, TX who specialize in textured ceiling painting projects so that you can learn insider tips and strategies to add more value to your effort. With everything covered here, you should come away feeling confident about making the best decision for your next painting project!
Benefits Of Painting Ceilings With A Roller
Get your ceilings painted quickly and efficiently with a paint roller! For best results, use flat ceiling paint which is known to offer superior coverage than their brush counterparts. Start by preparing the area with drop cloths, then fill a paint tray with the desired amount of paint. Once you have all of your materials ready, apply an even coat of paint on the entire ceiling surface using a rolling motion - this should allow you to cover a wider area faster than painting it with brushes. Be sure to move quickly and work in sections to ensure that the roller does not begin to dry before you've had a chance to spread it out properly. With this method, you'll be able to revamp your space in no time at all!
Moreover, by applying multiple thin layers rather than one thick coat, painters can better ensure that they get full coverage without having to worry about any runs developing over time due to gravity's effects on thicker coats of paint. With minimal preparation and effort required compared to other types of painting jobs, painting ceilings with a roller can provide satisfaction quickly - something we could all do with nowadays!
All things considered, using a paint roller can be an excellent choice for decorators undertaking ceiling painting projects who value speed and efficiency above all else...
Challenges Faced While Painting With A Roller
Get superior coverage and a long-lasting finish with the right tools for painting ceilings! Before beginning, make sure to use the correct roller cover - anything with too little nap may result in poor coverage and an uneven coat of paint. Additionally, calculate how much paint you will need beforehand to avoid having to apply a second coat. A special ceiling paint offers better results than regular varieties when it comes to properly coating large surfaces; alternatively, choose products that are specifically designed for being used on higher surfaces such as stairwells and walls. With these tips in mind, you'll be well on your way to achieving the perfect ceiling transformation!
Moreover, depending on the specific texture being painted onto the ceiling, different techniques will need to be employed. This means that by opting for this method rather than brushes or sprayers, painters may have less control when it comes to achieving intricate designs or patterns. As such, those aiming for detailed work should research their desired effect thoroughly beforehand to ensure they are equipped with all necessary materials and know-how ahead of time.
In light of these caveats then, painting ceilings with a roller requires careful planning if decorators hope to achieve satisfactory results without running into any hiccups along the way...
Preparing The Ceiling Surface
Before beginning to paint with a roller, it is important to ensure that the ceiling surface is properly prepared. After all, if not done correctly, any effort put into a painting can be wasted due to an uneven finish or lack of coverage. This means taking care of any potential damage or discoloration on the ceiling first and foremost; this could involve sanding down bumps or filling in cracks with spackle before continuing onwards.
In addition to addressing imperfections on the wall itself, painters should also consider what type of texture they are dealing with - some ceilings may contain materials like stucco or popcorn which will require special techniques when applying paint. As such, decorators need to know exactly what kind of material they’re working with before starting their project. It's worth noting as well that older homes may have been built using potentially hazardous materials such as asbestos-based products, so checking for these beforehand is highly recommended too.
Finally, once everything has been taken care of and double-checked, grab your trusty roller frame and get ready to start painting! But first, make sure you've covered up anything below the ceiling area (such as furniture) just in case there are any spills along the way - nobody wants cottage cheese dripping onto their sofa!
Applying The Paint With A Roller
Now that the surface is prepped and ready to go, it's time to get rolling! The best tool for painting a popcorn ceiling with a roller is an angled brush. This type of brush allows you to reach into all those nooks and crannies that may otherwise be difficult to paint. When selecting your rollers, make sure you opt for thicker nap roller covers; these provide more coverage in less time - perfect when working on bigger projects like ceilings.
As far as technique goes, start by starting from the outside corner and moving your way inward towards the center of the room (counterclockwise if possible). Once this step has been completed, then move on to the other side until everything has been covered evenly. Try not to apply too much pressure while doing so; instead, use light even strokes to ensure a consistent finish without any visible lines or streaks.
For added visual interest, consider
adding texture painting
using different techniques such as sponging or glazing after the initial layer of paint has dried. With some creative
mixing and matching, you can create unique patterns which will give your ceiling extra depth and charm.
Best Types Of Paint For Ceiling Texturing
Now that you’re armed with the knowledge of how to apply the paint using a roller, let’s take a look at what type of paint is best suited for textured ceilings. When selecting your paint, keep in mind factors such as durability, ease of application, and whether or not it will work well with any additional textures you may be applying later on.
When painting popcorn ceilings or other types of textured surfaces, acrylic-based paint works best. It's both durable and flexible enough to move with the ceiling texture without cracking or chipping over time. If possible, try to get one designed specifically for this purpose; they usually have special additives which help them adhere better to rough surfaces like those found on many popcorn ceilings.
Another factor to consider when selecting your paint is its finish. The most common types are matte/flat and eggshell/semi-gloss finishes – each with its pros and cons depending on the job at hand. Matte paints provide greater coverage while still allowing some light reflection when viewed from certain angles whereas semi-gloss paints can create more dramatic visual effects but require more coats before achieving full coverage. Ultimately it comes down to personal preference so experiment until you find something that suits your needs!
Final Touches For A Professional Look
Now that the painting is complete, it’s time to give your ceiling a professional finish. Here are four of the best ways to do just that:
-
Use a brush to clean up any drips or paint splatters around the light fixtures on the ceiling. This will ensure a neat and uniform look throughout.
-
If you have additional texture work planned, such as sponging or stippling, use a brush to blend in the edges with ease.
-
For an extra level of detail, add trim pieces around any ceiling light fixtures to create visual contrast between them and the textured surface.
-
Finally, take care when applying paint near recessed lighting fixtures – too much paint can cause problems with heat dissipation and should be avoided!
With these tips in mind, you'll be able to achieve an expertly finished result for your textured ceilings. Whether you're looking for subtle changes or something more dramatic, following these steps will help make sure your space looks great from every angle!
Final Thoughts
Painting a ceiling with a roller is an easy and cost-effective way to update the look of your home. With proper preparation, it can be done in just one day. The best part is that you don't need any special tools or skills to get started—just some paint and elbow grease!
Think of painting ceilings as creating a canvas for your masterpiece: no matter what type of texture you choose, the right color combinations and techniques can create a beautiful space. And if this project seems too daunting for DIYers, there are plenty of professionals out there who specialize in textured painting techniques.
Whether rolling on walls or adding texture to the ceiling, with patience and practice anyone can transform their living space into something spectacular. Like crafting a sculpture from clay, sometimes it takes several attempts before getting it just right – but when finished, it will certainly be worth all the hard work!